How to Repair a Blown Speaker: 8 Easy Steps to Fix it Yourself
Blown speakers often make a crackling or rattling sound when you play music through them. You might also hear distortion, like fuzzy noise, even at low volumes, or notice no sound coming from one speaker while others work fine. These signs mean something inside the speaker is damaged and needs attention.
Sometimes the cone, which is the main part that moves to make sound, looks torn or bent. If your speaker buzzes loudly or smells like burnt plastic, that’s a problem too. Catch these early to fix the issue before it worsens.
What causes a speaker to blow?
Speakers blow when parts like the voice coil or cone face too much stress. High power, accidents, surges, or age push them past limits. Spot these causes to protect your gear and avoid costly fixes.
Overpowering the Speaker
Crank the volume too high for too long, and the speaker gets more power than it can take. The voice coil overheats and burns or melts. You hear distortion or no sound at all. This hits home stereos, car audio, and party setups hard; keep an eye on that dial.
Electrical Surges
Storms, bad outlets, or faulty power strips send voltage spikes through the speaker. Thin wires and the voice coil fry fast from the extra jolt. Damage often sticks for good. Use a surge protector to guard your setup.
Physical Damage
Drops, pokes, or kids messing with the cone tear the soft parts inside. The cone rips, and the voice coil shifts out of place. Sound turns muddy or cuts out. Put speakers in safe spots, and never push the cone by hand.
Wear and Tear
Daily use over the years dries out foam and rubber edges until they crack. Heat, dust, and humidity speed up the breakdown of cones and coils. Speakers over five years old fail more easily. Clean them often and handle them with care.
Improper Power Handling
Hook speakers to an amp with mismatched watts or ohms, and trouble follows. Too much power overheats parts right away; too little strains them over time. Check labels and match your gear before you connect.
Most Common Damaged Areas of a Blown Speaker
The speaker cone takes the most abuse in a blown speaker. It turns voice coil vibrations into the sound you hear. Damage here causes fuzzy or weak audio.
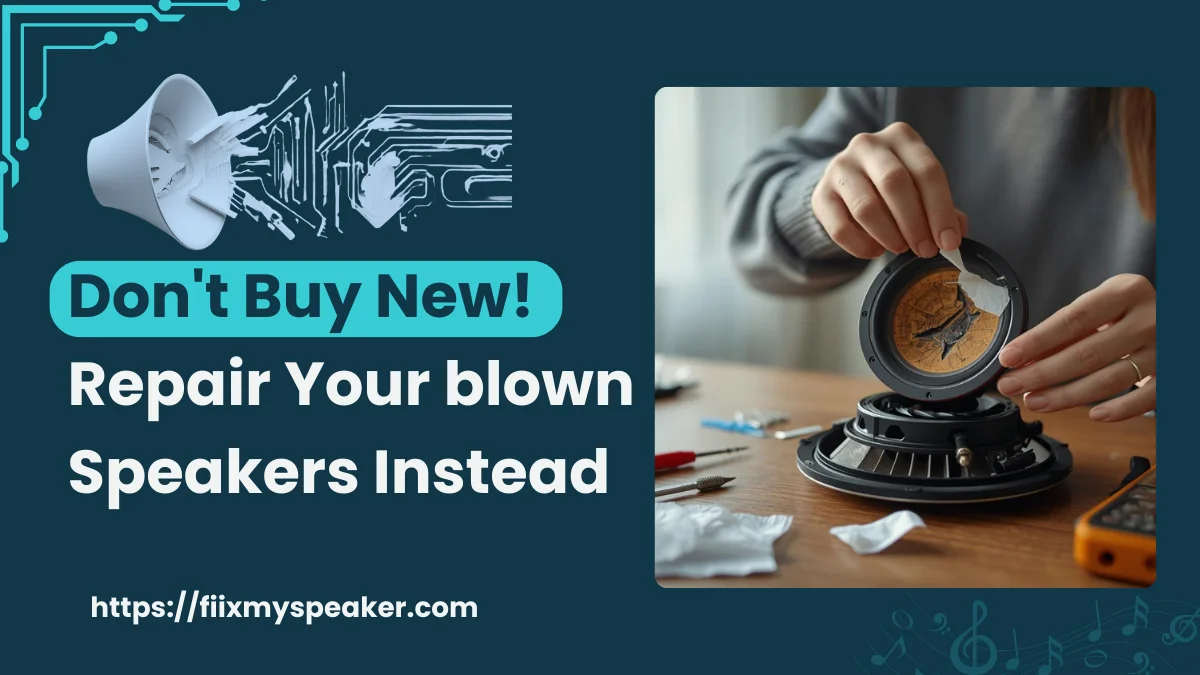
Tears and holes distort the sound. Fix small ones with thin white glue. Big damage needs a full cone swap; best left to pros who re-cone it right.
The surround sees heavy action too. This foam ring links the cone to the speaker frame. It handles tons of flex and stress from every bass thump.
It rots or cracks first from age and use. Replace it when it goes. Match sizes like 4-inch or 6-inch to fit your model.
How to Repair a Blown Speaker: 8 Easy Steps
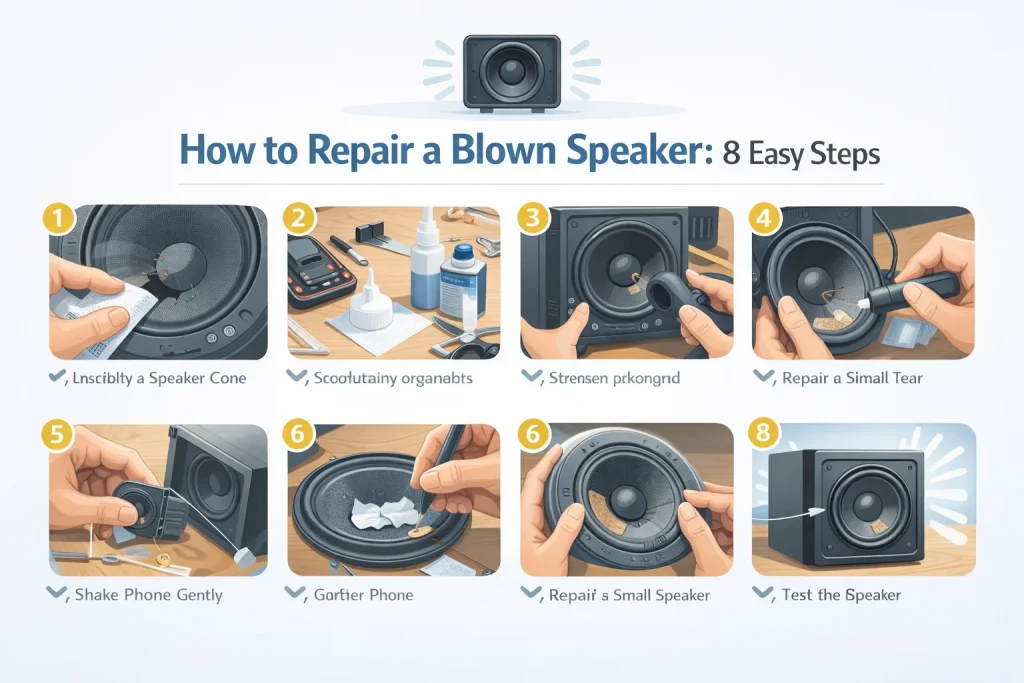
These steps fix blown speakers in cars or homes for beginners. Snap photos at each teardown step to make reassembly simple. Budget 1-2 hours total, including drying waits for glue. Tools stay basic, but match parts to your speaker size. The test is slow to catch issues early. Save money by buying new ones.
Step 1: Identify the Problem
Cut power and test quickly for crackles, buzz, no sound, or distortion. Lift the grill to inspect the cone for tears, punctures, burns, or holes. Pinpoint the bad side in stereo pairs fast. This tells if you face a blown driver or wiring snag. Skip guesswork with eyes and ears.
Step 2: Gather the Necessary Tools
Round up screwdrivers, speaker glue, a multimeter, scissors, swabs, tissue, and wax paper. Grab a recone kit for bad damage and match your speaker size online. Alcohol cleans old glue spots. These handle cone patches and surrounds easily. No fancy shop needed for home fixes.
Step 3: Disassemble the Speaker
Unscrew the front grill and basket carefully, no wire tugs. Lift the cone assembly out gently and label the screws by size right away. Track every small part in cups for reassembly. Avoid fresh bends or breaks inside. Photos help if you forget spots. Takes minutes if steady.
Step 4: Inspect the Speaker Components
Light up cone, surround, spider, and voice coil for cracks, char, or wear. Wipe dust softly with a cloth, then multimeter ohms on the coil open. Glue works on tears; swaps fix, melts, or rots. Note all damage levels now. Clean spots aid strong repairs later
Step 5: Repair Small Tears in the Cone
Toothpick thin glue on the tear edges evenly and quickly. Slap tissue square patch over and press under wax paper weights. Dry overnight flat for solid hold. Handles punctures under a half-inch fine. Beats full cone swaps for light abuse. Sound clears up sharply after.
Step 6: Replace Damaged Components
Soften old glue, peel the surrounds or spiders off clean for your model. Glue fresh ones aligned perfectly, smooth every fold tightly. Dry fully before moving to lock in. Kits supply exact fits online cheaply. Fixes rot or tears pro-style at home easily.
Step 7: Reassemble the Speaker
Use photos to fit parts back snug and true. Rehook wires firm, screw down without crush. Check cones moves free and alignments hold. Skip over-tight for flex room. Test wobble before seal-up full. Sounds right from the first hook.
Step 8: Test the Speaker
Wire low-volume music, raise slow for clear play. Run 10 minutes, ear on for distortion or buzz hints. Leave powered 24 hours straight to prove. Catches weak spots before party use. Full bass returns if the fix is stuck.
How to Repair a Torn Speaker Cone
Torn cones happen often and fix easily with the right glue. This works best on paper or plastic tears under two inches. Move quickly so dirt stays out.
Identify the Damage: Shine light through the cone to spot splits or holes. Press gently to feel floppy areas. Mark edges with tape so you can see them clearly.
Gather the Right Materials: Grab flexible speaker glue, not stiff super glue. Add thin tissue paper, a toothpick for spreading, a soft brush, and wax paper to guard clean spots.
Apply the Adhesive: Dab glue thinly on both tear edges. Press the sides together smoothly. Wipe extra glue fast with a cloth so it dries clean.
Reinforce with Tissue or Tape: Cut tissue bigger than the tear. Glue it over, press flat with a toothpick. Add one more glue layer on top to hold.
Let the Repair Dry: Set it dust-free for 24 hours. Skip heat lamps, but warm air helps. Don’t play sound until rock hard to the touch.
Test the Speaker: Push the cone by hand to check flex. Play low-volume tunes first. Listen closely for a buzz over a week of light use.
Fix a Speaker Cone
Speaker cones tear from pokes, drops, or bass thumps that split paper or plastic thin. Small rips under two inches fix fast with glue patches that flex right. Dirt sneaks in quickly, so clean first and act before the buzz starts.
Mix three parts white glue with three parts water to soak deeply. Brush both sides of the crack till wet through, no pools. Dry slowly in layers so the cone stays stiff and light for true tone. Sew a big tear thread first, color-match hides it.
Test push by hand after cure checks free move, no rub. Playing pink noise sweeps all frequencies clean. Patches hold for years if you skip hard slams right away.
Replace the Surround
Foam surrounds rot fast from sun fade, heat bake, or five years of daily thump wear. Cracks kill bass tight, cone flops wild loose. Peel old glue soft with alcohol soak, no metal scrape gouges, frame.
Order exact size shape foam rings online cheap for your model. Toothpick glue thin even, press folds smooth full circle tight. Weight light 24 hours seats flat flex true no waves.
Wipe dust frame clean pre-glue bites best hold. Old rubber surrounds need the same swap but heat gun loosens the stick. Test cone rock side to side free after cure confirms.
Fix a Detached Voice Coil
Coils detach from glue, fail or heat swell rubs gap scrape bad. Scratch buzz hits bass notes ugly clear sign. Drops jar them off-center in car stacks or home towers too.
Pop cone free, gentle no bends, eye gap center coil true. Dab CA glue spots quick tack holds while aligning. Wood glue top seals full, hand push tests no rub first.
Shims paper thin fit gap if rub stays post glue. Multimeter ohms match spec or amp clips signal worse. Dry full day before power, low sine wave proves clean.
Professional Repair
DIY quits on melted coils need a lathe rewind with a precise gap micron. Shops recone full kits, voice coil, spider, cone, and perfect center jig. Vintage pairs keep matched tone, no swap odd sound.
Cost $50-150 beats new $200 plus for hi-end drivers. Local audio techs five-star fix fast, truck freight eats save. Warranty one year covers flop jobs, unlike home guesses.
Test post ship impedance voice coil gap spec exact. Pros burnish frames clean, old glue no pit harm. High power PA stacks demanda pro voice coil former swap too.
When Should You Replace Your Speaker Instead of Repairing It?
Scrap if cone shreds are half gone or coil fries black, or surge toast. Multi tears hide frame bend deep no fix hold. Full surround crumble or spider rot means driver trash time sinks.
New drops $20-40 online match ohms watts easy now. Mismatch strains amp next or clips rub coil dead. Vintage tone is lost anyway, modern cones have tighter bass and deeper.
Cost over $50 repair? Buy new pairs to keep stereo balance. Test new low-volume hour burns weak spots out free. Old cabinets reused with fresh drivers punch harder clean.
How to Prevent Speakers From Blowing in the Future
Match amp RMS watts speaker max handle, crank half max steady safe. Surge strips block storm spikes and coil fry instant killers. Set shelves safe, no kid poke cone tear, or sun bake foam dry.
Dust vacuum soft yearly, eye surrounds crack early, swap free. Warm for low ten minutes pre bass blast flex parts cold stiff. Gain low master up avoids clip distort rubs coil worst hidden.
Impedance jump 4-8 ohm mismatch clips signal harsh. Auto EQ limits peak smart apps now guard hard. Car installs a fuse inline 1.5 amp protects the thump boom shorts.
Frequently Asked Questions
Can I fix a torn speaker cone?
Yes, glue tissue patches for small tears under two inches of flex hold. Sew a large first thread, strong base glue seals. Clean alcohol first or dirt grinds buzz worse with daily use.
Can I repair a blown speaker without professional help?
Yes, surrounding cones rub you realign home tools basic. Melted coils deep rub shop lathe rewind only true. Test post fix buzz stays then ship pro save time cash.
Can speaker glue fix all types of speaker damage?
No seal tears surround flex good skips fried coils melt. Flexible silicone wood dilutes the best paper cones vintage. Stiff super glue cracks thump and fails fast.