
How to Clean Laptop Speakers and Fix Sound Issues
Laptop & Mac Speaker Cleaner
Clean stereo laptop speakers — clear dust, restore clarity, diagnose crackle.
Is your laptop sounding muffled, distorted, or strangely quiet?
Whether you’re struggling to hear a colleague during a Zoom call or your favorite playlist sounds like it’s underwater, the culprit is often simpler than you think: hidden dust and debris. Over time, lint, dirt, and crumbs can clog your speaker grills, blocking sound waves and turning crisp audio into fuzzy noise.
But don’t panic you probably don’t need a technician. In this guide, we will show you how to clean laptop speakers safely using simple DIY tools and specialized sound-wave software. We’ll also cover essential software tweaks to fix driver issues and restore your audio to crystal-clear quality. Let’s get your sound back on track.
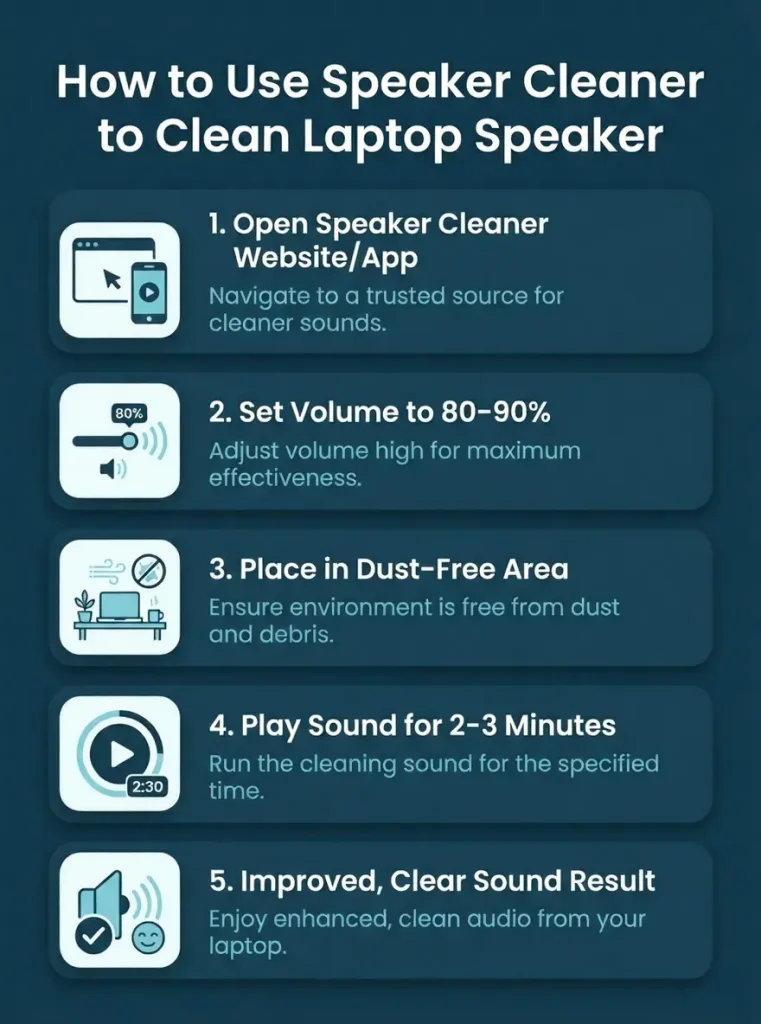
How to Use Speaker Cleaner to Clean Laptop Speaker
There are now software-based tools and mobile apps known as “Speaker Cleaners”. They use specialsound waves to force dust out of speakers. This is more commonly used on mobile phones but can also work with laptops.
Steps to use
- Visit a reliable website or app to clean laptop speakers using sound waves.
- Set your volume to around 80–90% (not full blast).
- Place your laptop in a dust-free area.
- Play the sound for 2–3 minutes.
- Check if sound quality improves.
Why Do You Need to Clean Your Laptop Speaker?
Using a Laptop Speaker Cleaner, you can clean laptop speakers to keep audio clear and the device running well. Dust and dirt build up in the grills and vents over time. This blocks sound and harms parts inside.
Sound Quality
Dust clogs the tiny holes in speaker covers and reduces audio clarity. You hear muffled or distorted sounds during videos or calls. Clean them to let sound waves flow freely and restore sharp playback.
Longevity
Debris causes corrosion or overheating in speaker components over months of use. This shortens the life of your audio system. Remove buildup to protect parts and make your laptop last longer.
Hygiene
Laptop surfaces pick up germs from hands and air in daily settings. Speakers trap bacteria in their meshes too. Wipe them down to cut down on health risks and keep your setup clean.
Aesthetics
Grimy speakers make your laptop look worn out in meetings or at home. Dirt spots stand out on sleek designs. Keep them spotless to maintain a professional appearance and good function.
Laptop Speakers Not Working Issues
Laptop audio glitches hit hard during online matches or streams, often from simple oversights to deeper faults. Spot the root cause with these common culprits to get back to clear playback fast.
1. No Sound On Laptop
Mute switches or low sliders often kill output without warning. Peek at the taskbar icon and crank levels, then pick internal speakers as the source to rule out silent mode.
2. Crackled Sound
Dirt, spills, or tweaks in effects distort notes into static bursts. Test tracks at mid-volume and scan for wet spots or grime that scramble the signal.
4. Outdated Audio Drivers
Old files glitch playback after updates or crashes. Grab fresh versions from the maker’s site and swap them in to smooth out choppy feeds.
3. Incorrect Speaker Configuration
Wrong device picks route audio elsewhere, leaving built-ins quiet. Dive into system sound menus and lock in laptop speakers as the go-to for steady flow.
5. Hardware Defects
Bumps or age warp cones, muting or buzzing internals. Probe for dents or wobbles, and swap if tests fail through headphone jacks.
6. Software Conflicts
Apps clash over channels, dropping volume mid-game. Quit extras and restart to clear jams from overlapping tools.
Clean Laptop Speakers Steps
Audio drops hit during key moments like loading a game level or joining a call. Run these checks in order to spot software slips or hardware hitches. Each one builds on the last for a full reset.
1. Check Volume and Mute Settings
Spot the speaker icon in your taskbar and hover over it. Click to open the mixer and slide volume up while scanning for a mute mark. Flip off any app-specific mutes too, as they often hide and block full output.
2. Play Fix My Speaker Sounds
Crackles caused by dust often need a gentle nudge, and using a fix my speaker test tone works well to shake loose trapped debris. Load a free online audio sweeper or app that blasts varying frequencies through the speakers. Run it at half volume for a minute to clear static and help fix my speaker issues without putting strain on the hardware.
3. Set Default Playback Device
Right-click the sound icon and pick Open Sound settings. Under Output, highlight your built-in speakers and hit Set Default. This pulls audio back from hidden Bluetooth or HDMI grabs.
4. Run Audio Troubleshooter
Right-click the speaker icon and choose Troubleshoot sound problems. Let Windows scan for glitches like wrong configs, then apply its fixes. It spots most basic jams without deeper digs.
5. Update Audio Drivers
Open Device Manager from the search bar and expand Sound, video and game controllers. Right-click your audio entry, select Update driver, and search automatically. If that skips, uninstall and grab the latest from your laptop maker’s site for your exact model.
6. Disable Audio Enhancements
Right-click the sound icon, go to Sounds, then the Playback tab. Right-click speakers, pick Properties, and check Disable all enhancements under the Enhancements tab. This cuts software tweaks that warp bass or highs into buzz.
7. Inspect Hardware
Plug in headphones to test if sound routes are clean there. Peek at speaker grills for dents or loose wires, and wiggle any visible cables. If externals work but internals don’t, it points to a busted cone or connection.
8. Restart Your Laptop
Hold the power button for a full shutdown, wait 30 seconds, then boot up fresh. This clears temp files and resets audio threads stuck in loops. Many glitches vanish with this simple cycle.
9. Update BIOS
Boot into BIOS by tapping F2 or Del on startup, then check for updates via your maker’s tool. Flash the new version to patch old firmware bugs hitting sound cards. Save this for last, as it risks bricks if power dips mid-run.
DIY Laptop Speaker Cleaner Repair: When to Try It and When to Call Professionals
Laptop speakers falter from daily grime or setup slips, and you can handle light fixes at home with basic gear. Weigh your skills against the risk to pick the right path. This breakdown spots when hands-on work and when experts step in.
💻When to Try DIY Laptop Speaker Cleaner Repair
- Dust and Debris: Grills clog with lint during long sessions, muting highs. Blast them with short bursts of canned air while the laptop sits powered down. This clears most surface blocks without prying open the case.
- Accessible Components: Some models let you reach speaker edges through vents using a soft cloth. Wipe gently if no screws block the way, avoiding liquids that seep inside. Test audio right after to check for crisp return.
- Driver Updates: Glitches like pops trace to stale software after OS shifts. Hunt your brand’s site for fresh audio files and install them fresh. Reboot to sync, fixing digital hangs tied to outdated code.
- Settings Check: Mismatched outputs route sound wrong during app switches. Poke into control panels to reset balances and defaults. A quick tweak often revives volume lost to hidden configs.
👨🔧When to Call Professionals to Clean Laptop Speaker
- Integrated Components: Speakers glued deep in the chassis demand full teardown. Techs handle ribbon pulls and board lifts safely. Skip this if your toolkit lacks precision tools for slim designs.
- Risk of Damage: Fumbles snap fragile wires during pokes gone wrong. Pros spot weak spots like corroded contacts early. Hand it over if past cleans left scratches or odd rattles.
- Persistent Issues After Simple Fixes: Dust blasts and reboots fail on warped cones from heat. Experts diagnose with probes beyond home scopes. Push to them when echoes linger post-basic runs.
- No Sound at All: Total silence signals fried circuits from drops or spills. They swap parts like diaphragms cleanly. Call if tests through jacks confirm the internals gave out.
Conclusion
Clean laptop speakers regularly it’s not just about better sound today it’s about maintaining your device for long-term use. With simple tools like brushes, cotton swabs, and compressed air, plus troubleshooting steps like driver updates, you can fix most sound issues at home. For serious cases, professional help ensures your laptop continues to deliver the clarity and performance you expect. By combining cleaning, preventive care, and troubleshooting, you can enjoy crisp audio and extend the life of your laptop.